This is the low-equipment version. The beans cook in a rice cooker instead of a steamer, get smooth in a blender with twenty grams of milk, and the drying happens in a non-stick pan on the stove. The only real discipline is the overnight soak and pressing the cakes before the paste cools.
Chinese · Snack
Mung bean cakes from a rice cooker, pressed while warm
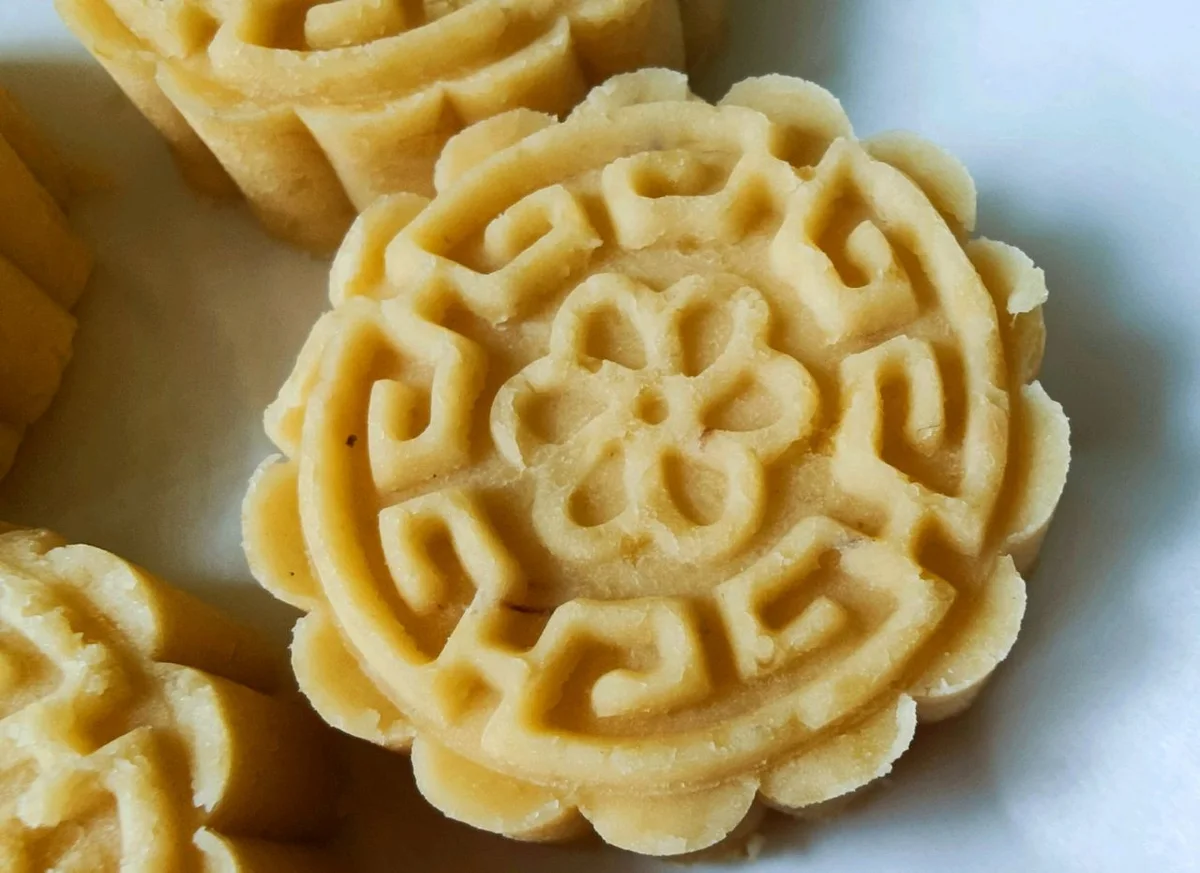
Peeled mung beans cook in a rice cooker, blend with a splash of milk, then dry out in a pan with butter, oil and sugar before being pressed into moulds warm.
- Prep720 min
- Cook45 min
- Serves10
- LevelMedium
Ingredients
| 250 g | peeled split mung beans |
| 50 g | caster sugar |
| 30 g | butter |
| 30 g | corn oil |
| 20 g | milk, plus more if the paste needs loosening |
Method
- The night before, rinse the peeled mung beans several times and leave them soaking in cold water overnight.
- Next morning, rinse them again and rub them lightly between your hands to lift the beany smell.
- Cook the beans in a rice cooker with water just level with the beans, using the normal rice setting.
- Blend the cooked beans with the 20 g of milk to a smooth paste.
- Melt the corn oil, the butter and the sugar in a non-stick pan, add the paste, and turn the heat down low.
- Stir by hand, without stopping, until the paste is evenly mixed and dried out. It is ready when a spatula cuts a clean line through it and nothing sticks to the blade.
- Divide the paste into 30 g portions while it is still warm.
- Press each portion into a flower mould, knock the cakes out, and chill them in the freezer for 10 minutes to set before moving them to the fridge.
Notes
- Soak overnight, not overnight-plus. Beans that have sat too long ferment, and the sourness survives cooking.
- The pan stage decides the texture. Under-dried paste presses into moulds that stick; properly dried paste releases clean and cuts like fudge.
- Press while warm. Cold paste crumbles at the mould's edges and the flower pattern comes out rough.
Ratios and technique checked against 燕儿飞whzi on Douguo (自制绿豆糕). The method here is written by Stellaok; the photograph is the source kitchen's, credited on the image above and linked back to the page it came from. No recipe text is reproduced.